Animal Ragdoll Playable Animals Roster
Archetypes, unlock philosophy, and how XP plus tools expand your menagerie.
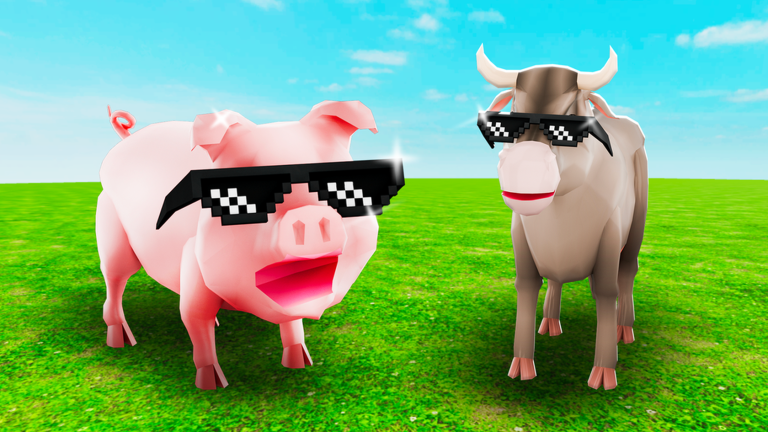
This Animals Roster page goes deeper than the Players Hub overview: how playable creatures in Ragdoll Animals feel, how unlocks generally tie to XP, tools, Quests, Crate Drops, and Flash Deal, and how to plan toward the level 40 soft cap without inventing fake exclusive skins. Animal Ragdoll keeps archetypes honest—pig/piggy, ram, goat-like, flyer, heavy—so advice survives cosmetic renames.
Roster philosophy
Takawakalaka’s sandbox sells tags like Ragdoll, Animals, Pig, Piggy, Bones, Crashing, Physics, Chaos, Flying, Funny, Destruction, Fling, and Bouncing. Bodies are vehicles for those tags, not esports operators with hidden MMR. When shop rows change after a patch, re-check the live experience via Official Links and skim patch notes.
Archetype dossiers
Pig / Piggy
Feel: Round mass, wide comedy hitbox, excellent fail compilations.
Best at: Slapstick freestyle, beginner comfort, thumbnail energy.
Struggles with: Surgical interact quests in tight props.
Unlock vibe: Often early or mid track—mascot energy wants to be seen.
Pair with: Any loud tool; explosives turn pigs into squealing grenades (tools tier).
Ram / charge beasts
Feel: Forward commitment, impact fantasy.
Best at: Smash quests, door-breaking vibes, linear fling setups.
Struggles with: Fine strafing mid-charge.
Unlock vibe: Mid progression when smash boards dominate.
Pair with: Fling tools for missile combos; see S-tier notes on animals tier list.
Goat-like all-rounders
Feel: Balanced Goat Simulator spiritual successor energy.
Best at: Mixed quest logs, prop interaction, all-session mains.
Struggles with: Specializing past rams or heavies in niches.
Unlock vibe: Frequently the “default comfortable” path after tutorial bodies.
Pair with: Grab utilities for interact objectives (quests and crates).
Flyer-leaning forms
Feel: Air time, cinematic ragdoll arcs, crate sniping angles.
Best at: Open maps, bounce tool synergy, content clips.
Struggles with: Low ceilings, beginner camera chaos.
Unlock vibe: Mid-to-late once bounce mastery exists (controls).
Pair with: Bounce springs; explosives as finishing spice.
Heavies
Feel: Momentum kings, landing craters, crowd bowlers.
Best at: Full 20-player lobbies, demolition freestyle.
Struggles with: Tight turning and some mobile precision.
Unlock vibe: Reward for players who prove they can handle mass.
Pair with: Explosives for maximum Physics Sim chaos.
Lightweights / jesters
Feel: Quick, floaty, exploratory.
Best at: Scouting crate routes, learning maps on day one.
Struggles with: Winning contested pileups against heavies.
Unlock vibe: Early side grades.
Pair with: Dash tools for Flash Deal sprints.
How unlocks usually work
While exact menus shift, the economy spine stays recognizable:
- Play → earn XP (how to level up)
- Levels gate tools that change kit identity
- Quests and crates inject animal tickets, trials, or permanent unlocks
- Flash Deal may discount a body you were saving for
- Codes occasionally gift progress (Codes Hub)
If a trial animal appears from a crate, main it for the full timer—labs beat speculation. Do not buy unlock-all executors; read script safety.
Suggested unlock order
- Whatever the tutorial gives you — finish Getting Started
- Goat-like or pig — learn comedy mass
- Ram — smash efficiency
- Mobility lightweight or early flyer — crate practice
- Heavy — lobby domination
- Specialty flyers / gimmicks — completionist fun after level milestones
Adjust if crates hand you a heavy early; opportunity > rigid ladders.
Synergy matrix (short)
| Goal | Animal | Tool |
|---|---|---|
| Leveling smash boards | Ram | Explosives |
| Mixed quests | Goat-like | Grab / hybrid |
| Crate contests | Flyer / light | Fling / dash |
| Clip farming | Pig or flyer | Bounce + fling |
| Chaos parties | Heavy | Explosives |
Progression milestones tied to animals
- Early levels: Comfort bodies, learn recovery
- Mid levels: Charge beasts + first S tools
- Approaching 40: Complete archetype coverage, refine personal tier opinions
- Post-40: Fashion, challenges, helping friends pick bodies on the Players Hub
Myths to ignore
- “One animal is secretly god-tier for everything” — loadouts and maps matter
- “Flyers are useless” — skill expression is real after bouncing fixes
- “You must script unlocks” — false and dangerous (Scripts Hub)
- “Pigs are only jokes” — jokes are the meta
Keeping the roster page accurate
When Takawakalaka adds a new body, we map it to the closest archetype rather than inventing lore. Community rankings update on the animals tier list; this roster stays the encyclopedia. Cross-link tools whenever a patch changes how mass interacts with explosions.
Practice plan per archetype
Spend one short session per body: ten intentional ragdolls, five tool combos, one quest clear attempt, one crate route. Log what felt sticky. That notebook becomes your personal tier list—more valuable than any static S letter.
Collect animals the same way you collect funny deaths: patiently, officially, and with room to laugh when a pig outplays a heavy because the heavy looked left.
Frequently Asked Questions
Quick answers to the most common Ragdoll Animals questions.
How many animals are in Ragdoll Animals?
Counts change with updates. Think in archetypes—pig, ram, goat-like, flyer, heavy—and verify live unlock rows in-game.
How do I unlock more animals?
Progress XP toward level 40, complete quests, open crates, watch Flash Deal, and redeem official codes when available.
What animal should I main first?
Goat-like or pig for comfort, then ram for smash quests once you want faster clears.
Do animals change controls?
Core inputs stay similar; mass and bounce timing change. See the Controls guide after physics patches.
Where are strength rankings?
Open the Animals tier list for S–C community chaos rankings.
Can I unlock everything with a script?
Do not. Unlock-all pastes risk bans and malware—use legitimate progression only.